
A Beginner’s Guide to Screen Printing – Upcycling Old Clothing
Screen printing is a fantastic way to upcycle and customize second-hand clothing, transforming plain pieces into unique, resalable fashion. Whether you're adding logos, graphics, or text, screen printing is an accessible and fun way to breathe new life into old garments. This guide will take you through the step-by-step process, including tips for those without specialized equipment.
Why Screen Printing?
✅ Increases resale value – Custom prints make garments unique and desirable.
✅ Eco-friendly upcycling – Reduces waste by repurposing old clothing.
✅ Affordable to start – Requires only basic materials.
✅ No professional setup needed – DIY options work great for beginners.

What You’ll Need
-
A t-shirt or other fabric item (prewashed for best results)
-
Screen printing frame or an embroidery hoop (for DIY methods)
-
Screen printing ink or fabric paint
-
A stencil or design (handmade or printed on transparency paper)
-
A squeegee or plastic card
-
Masking tape
-
Cardboard (to place inside the shirt to prevent bleeding)
-
A hairdryer or iron for heat setting
How to Screen Print Without a Professional Setup
Step 1: Prepare Your Design
-
Create or print a stencil on thick paper or transparency film.
-
If cutting by hand, use a craft knife to carefully cut out your design.
-
Alternatively, use vinyl transfer sheets for precise shapes.
Step 2: Set Up Your Screen
-
If using a screen printing frame, attach your stencil to the underside.
-
For a DIY version, stretch fine mesh (like old tights) across an embroidery hoop and tape your stencil onto it.
Step 3: Secure the Fabric
-
Lay the fabric flat and insert cardboard inside to prevent ink from bleeding through.
-
Tape down the edges of the screen to hold it in place.
Step 4: Apply the Ink
-
Pour a small amount of ink onto the top of the stencil.
-
Use a squeegee to spread the ink evenly over the design, pressing firmly.
-
Make one or two passes for best results.
Step 5: Remove the Screen and Let It Dry
-
Carefully lift the screen off to reveal the design.
-
Let the ink dry completely (use a hairdryer to speed up drying).
Step 6: Heat Set the Print
-
Once dry, place a thin cloth over the design and iron for 3-5 minutes on medium heat.
-
Alternatively, use a heat press or tumble dry the garment for durability.
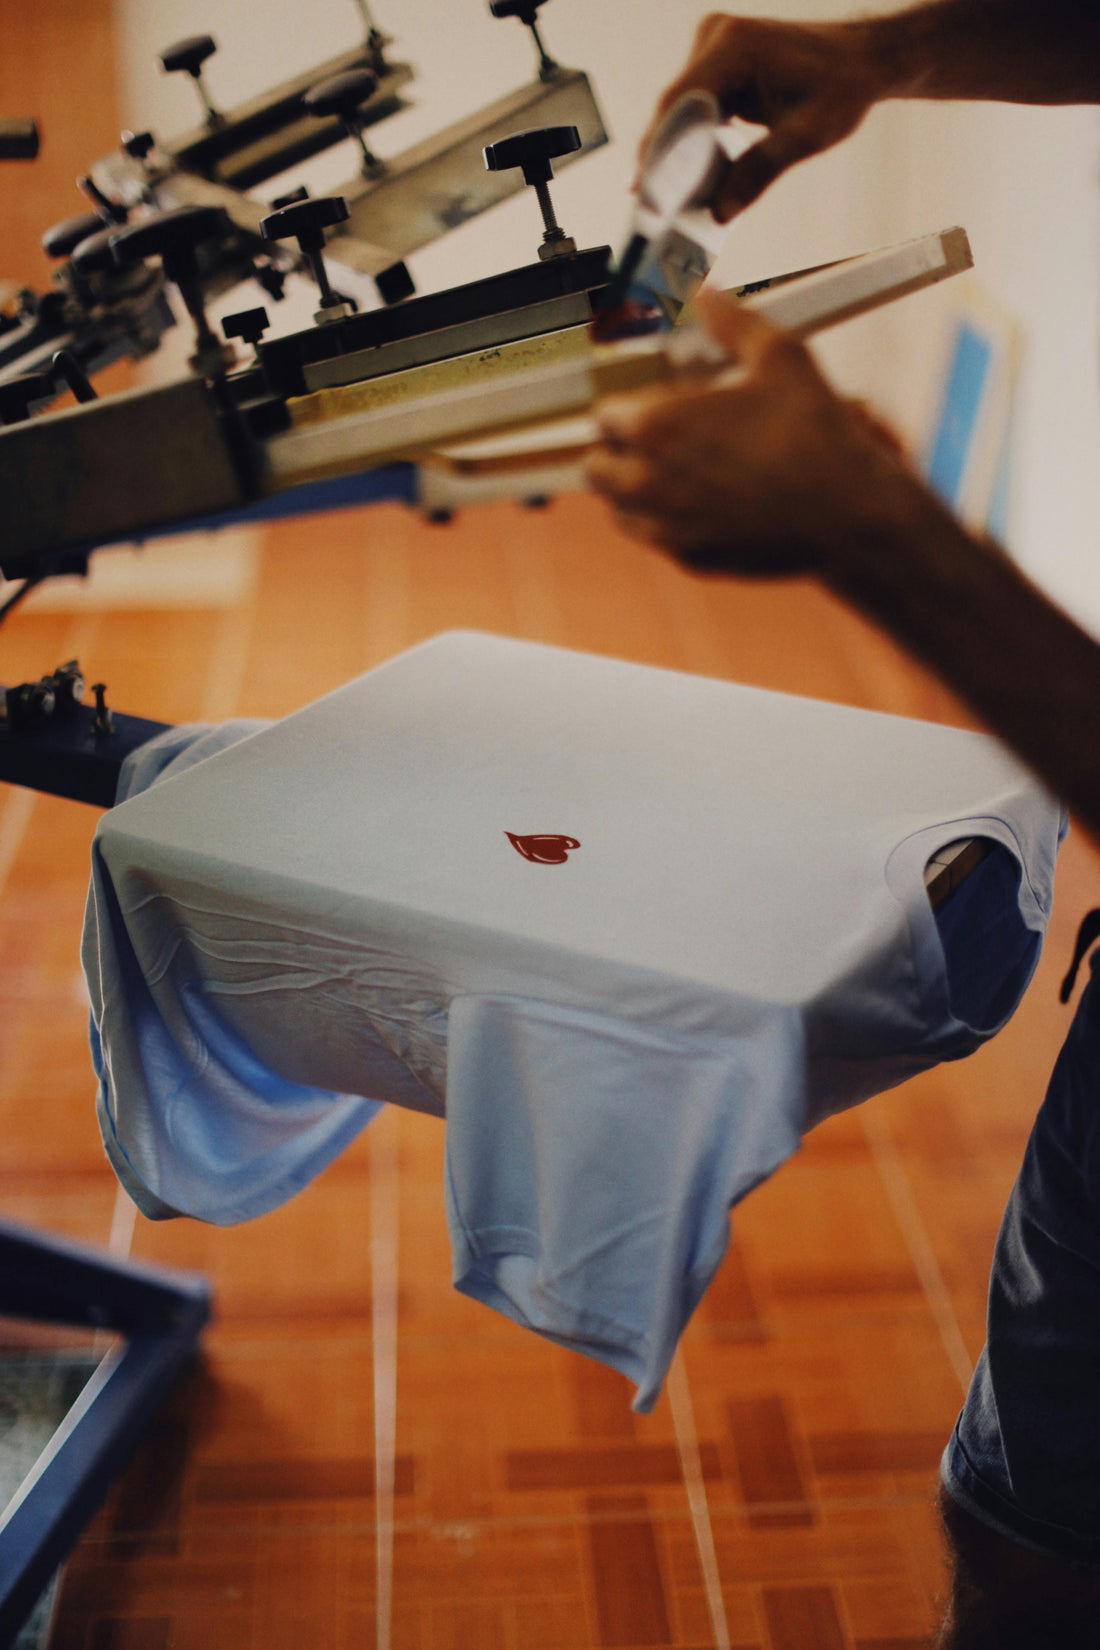
Machine-Assisted Screen Printing
If you have access to a screen printing press or a vinyl cutter, you can create more intricate designs with professional quality.
Using a Vinyl Cutter for Stencils
✅ Best for precise lettering and logos.
✅ Works well for repeatable designs.
Steps:
-
Design digitally using software like Canva or Illustrator.
-
Cut the design using a vinyl cutter.
-
Apply the vinyl stencil to the screen.
-
Follow the regular screen printing process for inking and setting.
Using a Pre-Built Screen Printing Kit
✅ Best for batch printing and higher-quality finishes.
✅ Ideal for serious upcyclers looking to scale up.
Steps:
-
Set up the screen on the printing press.
-
Use high-quality ink for long-lasting prints.
-
Dry the fabric under a heat press for durability.
Creative Ideas for Upcycling with Screen Printing
-
Graphic Tees – Revamp plain shirts with bold, trendy designs.
-
Logo Printing – Add custom logos to upcycled hoodies or sweatshirts.
-
Patchwork & Layering – Print designs onto fabric scraps and sew them onto denim or tote bags.
-
Two-Tone & Gradient Prints – Use multiple ink colours for unique effects.
Final Thoughts – Start Screen Printing Today!
Screen printing is a fantastic way to add value to second-hand clothing while keeping fashion sustainable and unique. Whether using a DIY setup or a professional press, screen printing can transform old clothes into profitable, eye-catching pieces.
